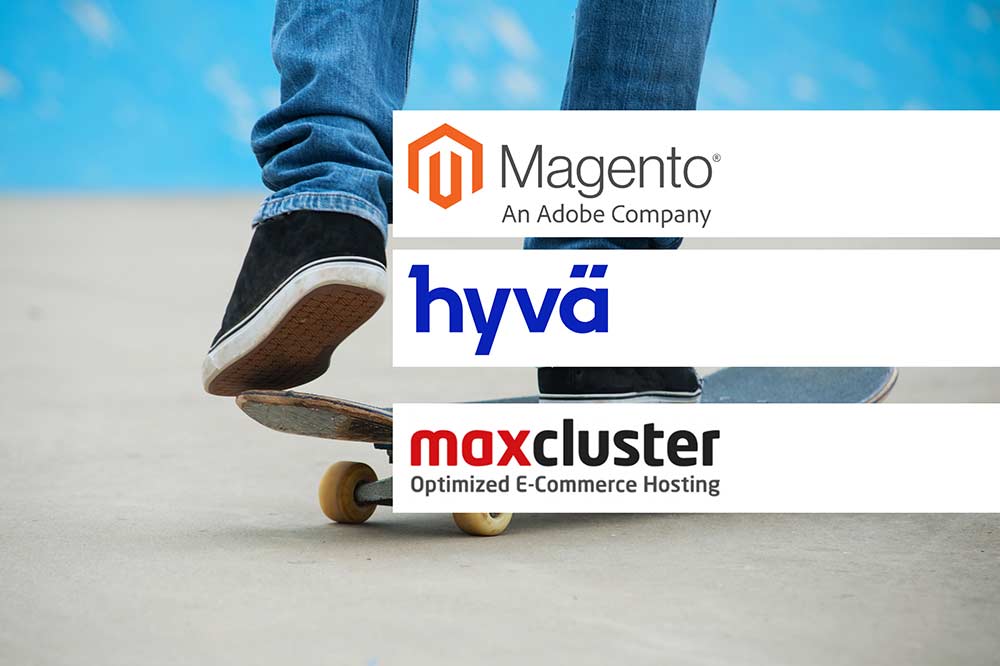
Inhaltstypen
Pages
Posts
28.06.2017

Measuring table soccer shot speeds

Company Culture

As part of our monthly dev days, one team started to work on a speed measurement device for table soccer. This is a bit different to the kind of projects we normally do, but since table soccer is a big part of our company culture, we decided to give it a go anyway.

Since dev meetings have always been about learning something new and experimenting with technologies, we decided to implement our project with the programming language Go.

insign team playing table soccer

Go is a statically typed language created by Google in 2009. As most new programming languages, the original purpose of Go was to solve problems other languages had but keep their advantages. The language design is influenced quite a bit by C and Limbo (which was developed by Rob Pike who also designed Go). Today, new applications are often written in Go instead of C++ – Docker or Dropbox are just some prominent examples.

Hardware

For creating the speed measurement, we needed a small microcomputer which we could build directly into the soccer table. Fortunately we already had some Raspberry Pi’s in the house that we could use. We installed Raspbian on it and set up the Go development environment.

We considered multiple approaches for actually measuring the ball speed, including a light barrier and pressure pads. In the end we settled for having two light sensors that are placed next to each other. This way we can calculate the speed by taking the time difference it took to trigger the first and second sensor in relation to the distance between them. One major problem with this approach is that shots that come in at an angle will be measured with a slower speed than straight shots because they travel a longer distance.

We had to drill holes in the side walls of the soccer table to protect the sensors (some of our guys shoot really fast!) from being hit and broken by the ball. On the inside, the sensors are wired to the Raspberry Pi which itself is connected to our WiFi and accessible via SSH.

The connections we use on the Raspberry Pi are called GPIO (General-purpose input/output) and by default don’t serve any specific purpose. These 3.3V pins can read or write values (usually high or low) and can be used within an application.

At the beginning we were having issues with the signal strength which was not triggering the low and high signals correctly. In order to improve the accuracy of the measurements, operational amplifiers were added to the circuit.

Building the circuits

Implementation

Measuring pin voltage with an oscilloscope

In our Go application we use the GPIO library written by Brian Armstrong to access input and output values of the pins. The advantage of this library is that it is implemented as a watcher, so that our code can only listen to pin value changes instead of constantly polling the values even though they didn’t change.

We take advantage of a few Go features to create a simple speed meter application. One feature we use are Goroutines (a word pun with Go and Coroutine) that are lightweight background threads to execute code asynchronously. Basically our whole speed meter works in a background thread, only actual measurements (when a ball triggered both sensors) are pushed to the main thread and displayed.

Another feature are channels which are kind of a data stream between components. The application can send and receive messages via the channel. In our case, the speed meter background thread sends a message on a channel that a measurement has taken place, the main thread reads this message and displays it in the UI.

We also use deferred statements, meaning the execution of these statements is postponed until the surrounding method returns. This is useful for starting and stopping the speed meter, because we can already call the stop function right after starting, but this will still only happen at the end of the application.

Test outputs

Code

And for those who are interested in the code we’ve developed, here it is:

main.go

speedmeter.go