
A few months ago we decided to restructure our bi-weekly dev meetings. Where before we would hold a talk about some tech topic and dive into it with some hands-on examples, we now work in teams on bigger projects. This is advantageous because we’re able to really learn a new technology instead of just skimming the surface.
In this new context we wanted to revamp our Continuous Integration infrastructure. Until this point our stack consisted (in most cases) of a Git repository, hosted on BitBucket and a Jenkins server per project running Capistrano or Ansible tasks and Docker deployment on testing environments (and for some older projects even manual deployment or some shell scripts). As some of the team members already had prior experience with GitLab and its CI feature and really enjoyed working with it, we wanted to go with that.
Single tool for all our needs
But why GitLab? Well…
Single tool for all our needs (except package hosting) Self-hosted, better for control and security reasons Integrated CI pipelines Great UI experience, nice look and feel Good community, rapid development
We decided to use Sonatype Nexus for hosting our packages. When we started the project, version 3.0 was just released. It features a private Docker registry, which we required.
Setting up the devops server The idea was to run these applications in Docker containers, one for GitLab, one for Nexus, and some more for GitLab runners and an HTTP proxy. First, we registered a new domain: insign.rocks! We started a new project called infrastructure, where we put all the devops code (Docker compose, config and environment files) for this server.
Once that was working and we got GitLab started, we created a new repository and put that code inside it. So we have a server that can be run by code that’s inside that server’s storage. CI-ception! The next goal here is to enable automatic deployment on this repository as well, so every time you change the code, the devops server gets updated.
SSL Since GitLab and Nexus are reachable via the WWW, and we have sensitive information stored in these, we of course need SSL encryption. Luckily for us, automated SSL setup has gotten much easier with the introduction of Let’s Encrypt. So that’s what we’ve done, and now Maven, Docker and Git repositories are secure.
But behold, what about the GitLab and Nexus web UI, you may ask? Well, insign.rocks is managed by CloudFlare, which in turn manages SSL for us, so we don’t even have to worry about that on our side.
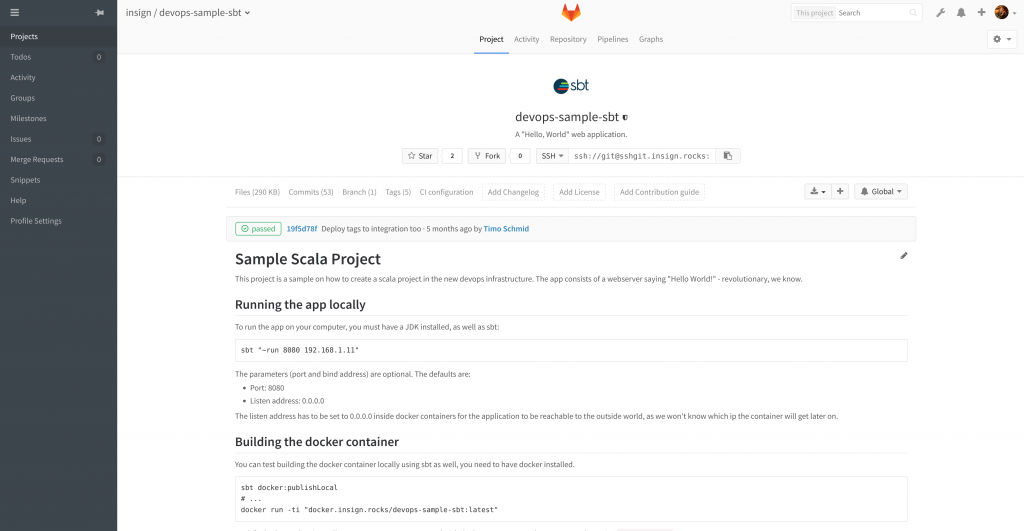
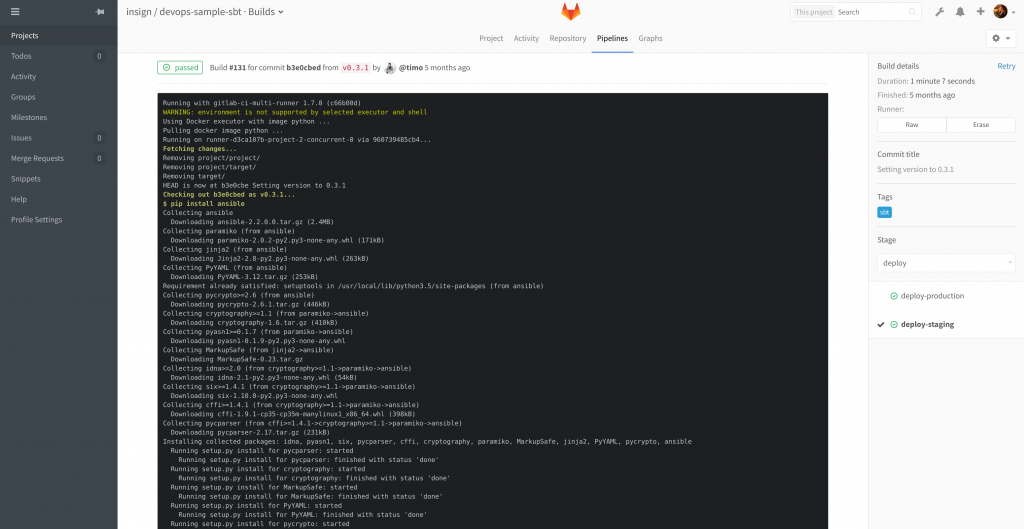
Example projects In the context of our dev meeting we wanted to demonstrate the power of GitLab and its CI features, and thereby our vision for insigns CI future. We accomplished that by setting up two sample projects, one for SBT (Scala/Java) and one for PHP projects.
As the time was limited, we stuck with basic implementations. The programs itself just show some output in the browser. For the SBT version we used SBTs own test, publish and docker:publish commands which put the artifact into the repository. Then, Ansible deploys this image to a defined target host and starts the container. Ta-da! In the PHP project we used build, push and pull from the Docker binary to achieve the same goal.
Example projects
Real-life project
After the proof-of-concept was finished, it was time to move the first real project to GitLab! An online webshop run by the Magento 1.9 framework, which is of course based on PHP.
Here’s an overview of our CI setup, which I’ll explain in detail below. Be aware that the image shows a generic project setup.
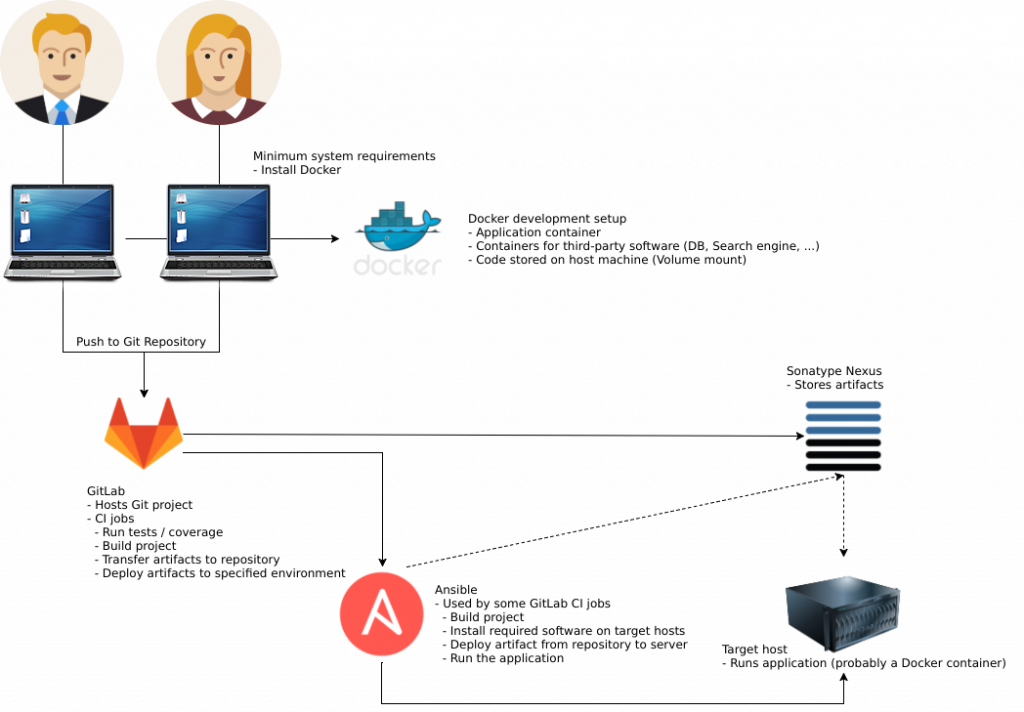
First, we moved the Git repository from BitBucket to GitLab. Easy enough, since GitLab has an import feature which we were able to utilize. Some changes were made to the project to optimize the workflow, like adding Composer installation for Magento 1.x projects.
Now, for the devops implementation. The idea is that we have two separate repositories. The first contains the Magento project code, which we already created. Second is the devops project. Here we store all the files related to the Docker containers, Ansible and Bash scripts we need to run the project locally, build images, deploy those images to different environments, start containers, sync databases and files.
To be precise, these jobs must be executable: run – Run the project on a developer machine build – Create a docker image for the project publish – Push that image to a private registry deploy – Pull that image onto a server and start a container sync – Sync databases and files between servers
To accomplish that, we have three Bash scripts called app.sh, ci.sh and sync.sh. While sync.sh of course supplies the sync job, app.sh provides run, and ci.sh the rest. Since app.sh is only used by the developer to start the application on his machine, it is not relevant to GitLab CI and therefore this blog post. The other scripts are run by GitLab CI when a new commit or tag is pushed to the repository or a manual action is triggered, to build, publish and deploy a new Docker image.
If there are two different projects, how can a commit to one trigger a build with script files from the other? Very good question, indeed. The cool thing is, GitLab CI can use Docker runners, which are based on an image. If we are able to build such an image from the devops project and use it when running a build in the Magento repository, we’re good to go.
I will explain how that works in a bit more detail. In the devops project we have the bash scripts which can run the jobs defined above. In our example, these scripts call ansible-playbook and run, as the command suggests, one or multiple Ansible Playbooks.
When we change something in the scripts and commit and push those changes to the devops repo, there’s a .gitlab-ci.yml file to trigger a build:
As you can see, we build a Docker image from the current project and push it to our private registry. This however means that we need to have a Dockerfile. Here’s the one we use:
We add the scripts we need from the project source to the image and install the required software (Ansible, SSH, Git and some nice-to-have packages) to run them. With every build a new SSH private/public key pair is created and the public key is printed to the console.
It is our job as developers to take that key and distribute it to the target hosts of the Magento project, and a GitLab user which is able to clone it. With that, the image is able to all the CI’ing we need it to do.
Now we can add a .gitlab-ci.yml in the Magento repository. In our case, it looks something like this:
We use GitLab’s Secret Variables to provide sensitive information like passwords to the script. Important to notice here are the image: docker.insign.rocks/my-project/devops lines, which let us use the ci and sync commands.
Yes, correct. The GitLab runner must authenticate with the Docker private registry first, or it won’t be able to fetch the image. That’s why you need to connect to the server where you host GitLab, use docker login there and mount /home/user/.docker/config.json to /root/.docker/config.json in your GitLab runner instance. Since we have our server setup code in GitLab as well, we just had to add a line to the docker-compose.yml file and commit the changes. Bam!
Back to the GitLab CI file: In our real-life example we have more environments of course, each with it’s own only or except definitions to run only when certain pushes from Git are registred. In the end, this gives us pipelines like these:

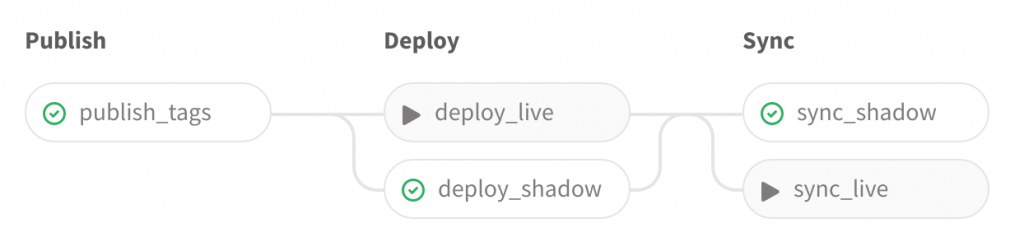
With the when: manual instructions we can specify tasks which must be manually triggered. These jobs are represented with the “play” icon here. So, in the first example, a commit to the master branch was automatically built, published and deployed, but we only want to sync data from the live server manually. Likewise in the second example, a new Git tag was pushed to the repository, and an image was automatically built, pushed to the private Docker registry and deployed on the shadow server.
Here we decided to execute the sync task manually. But the new release version is not yet deployed on the live server. We could do that anytime, with the click of a button.
Just so you know, the sync_live task is special because unlike the other sync task it doesn’t sync from live (of course), but from shadow.
Thanks for your attention
That’s it. We hope you can take something worthwhile out of this post and improve your own processes as well. If you have questions or remarks, we’d love to hear from you in the comments below or directly via e-mail.
And if you want to see who all are behind this post, then visit us on our team site
